
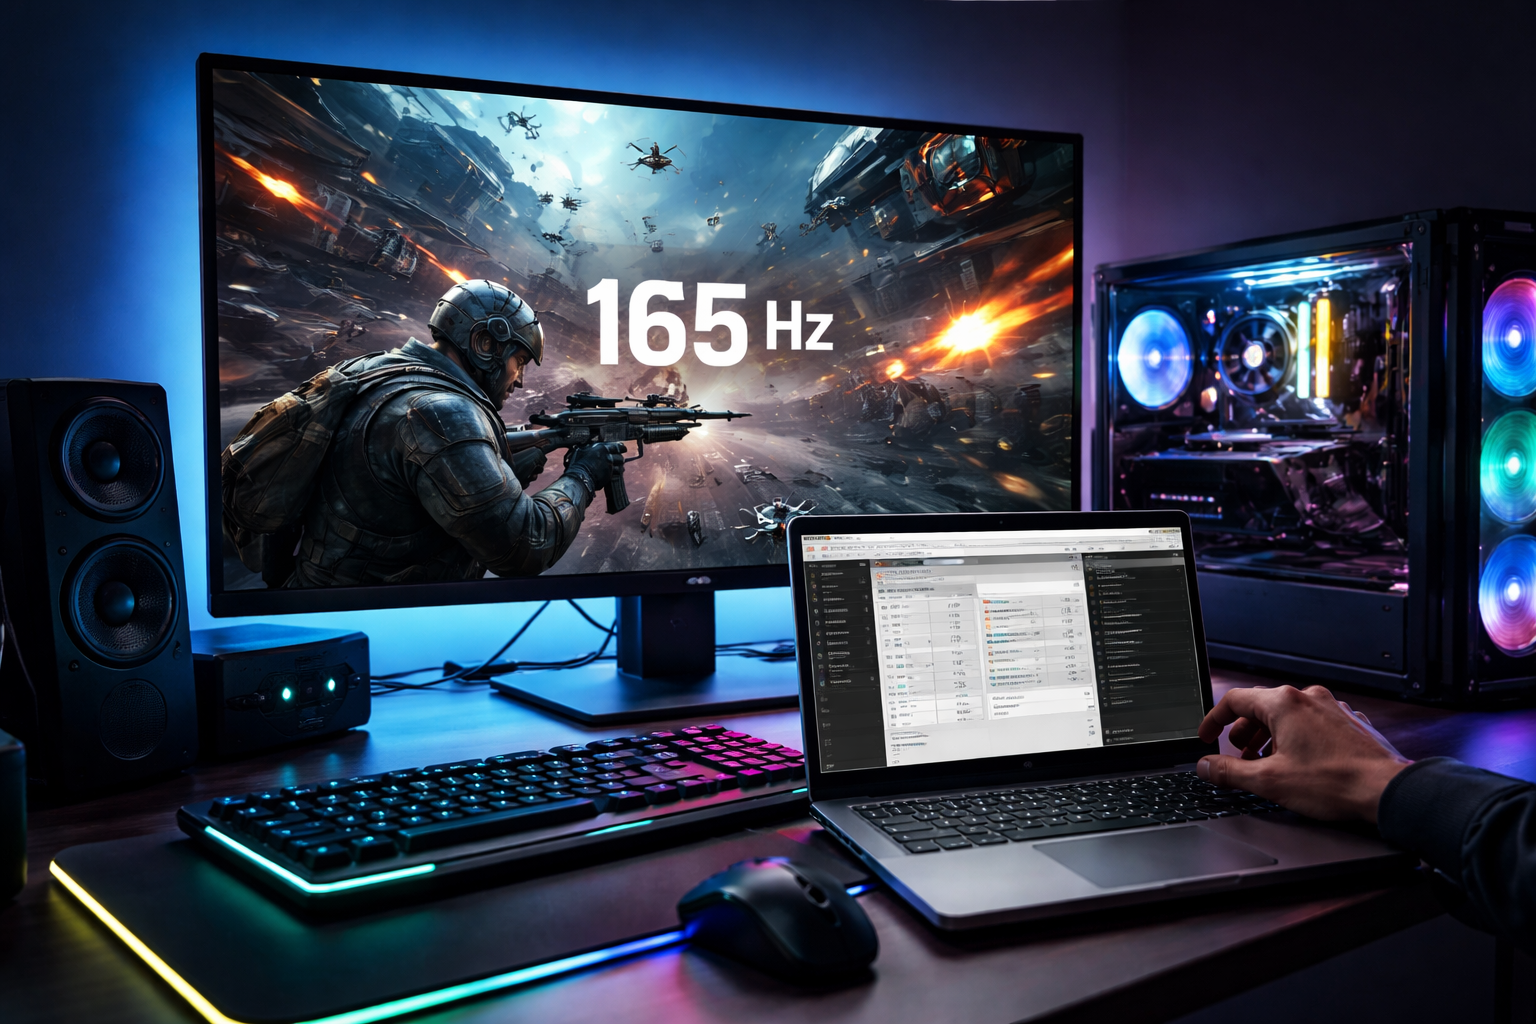
In competitive gaming, every millisecond matters. You’ve upgraded your GPU, tuned your in-game settings, and dialed in your mouse sensitivity. But there’s one often-overlooked tweak that can squeeze extra performance out of your setup without spending a dime: overclocking your monitor’s refresh rate.
With the help of a small but powerful utility called Custom Resolution Utility (CRU), you can potentially push your display beyond its factory-rated refresh rate for smoother gameplay and reduced motion blur. Done correctly, it’s a safe and reversible tweak that can enhance your gaming experience,, especially in fast-paced titles like Valorant, Call of Duty, and Fortnite.
In this guide, we’ll walk you through how to use CRU to overclock your monitor’s refresh rate, what to expect, and how to do it safely.
What Is Monitor Overclocking?
Your monitor’s refresh rate, measured in Hertz (Hz), indicates how many times per second the display updates the image. A 60Hz monitor refreshes 60 times per second, while a 144Hz display refreshes 144 times per second.
Higher refresh rates deliver:
- Smoother motion
- Lower perceived input lag
- Reduced motion blur
- Improved tracking in competitive games
Monitor overclocking involves increasing the refresh rate beyond the manufacturer’s rated specification. For example, a 60Hz monitor might run at 70Hz or 75Hz, while some 144Hz monitors can reach 155Hz or higher.
Not every monitor can be overclocked significantly, and results vary depending on panel quality, cable bandwidth, and GPU output. But even a small bump, say from 60Hz to 72Hz, can noticeably improve smoothness.
What Is CRU (Custom Resolution Utility)?
Custom Resolution Utility (CRU) is a free Windows tool that allows you to create custom resolutions and refresh rates by modifying your monitor’s EDID (Extended Display Identification Data).
Unlike GPU-based tools that create custom resolutions in the driver, CRU edits how Windows sees your monitor. This allows for:
- Adding higher refresh rates
- Fine-tuning timing parameters
- Removing unnecessary resolutions
- Adjusting display behavior at a low level
CRU works with both AMD and NVIDIA GPUs and doesn’t require a persistent background application.
Before You Begin: Important Considerations
Overclocking your monitor is generally safe, but you should keep these points in mind:
1. There Is No Guarantee
Not all monitors can handle higher refresh rates. Success depends on panel quality and internal controller limits.
2. Use the Right Cable
Your connection matters:
- DisplayPort offers the most bandwidth and flexibility.
- HDMI may limit refresh rates depending on version.
- Avoid older standards like VGA or single-link DVI.
3. Watch for Instability
If the monitor can’t handle the new refresh rate, you may see:
- Flickering
- Frame skipping
- Signal loss
- Artifacts
If this happens, you can revert easily (we will explain how).
Step-by-Step: How to Overclock Your Monitor Using CRU
Step 1: Download CRU
Download Custom Resolution Utility from a trusted source (typically the developer’s official forum thread). Extract the ZIP file to a convenient location.
Inside, you will see:
CRU.exerestart.exereset-all.exe
No installation is required.
Step 2: Launch CRU
Run CRU.exe.
At the top, select your monitor from the drop-down menu (if you have multiple displays). Make sure you’re editing the correct one.
You’ll see sections labeled:
- Detailed resolutions
- Standard resolutions
- Extension blocks
We’ll focus on Detailed resolutions.
Step 3: Add a Higher Refresh Rate
- Under Detailed resolutions, click Add.
- In the new window:
- Set your current resolution (e.g., 1920×1080).
- Change the Refresh rate to something slightly higher.
If your monitor is:
- 60Hz → Try 65Hz or 70Hz first.
- 144Hz → Try 150Hz.
- 165Hz → Try 170Hz.
Be conservative. Increase in small increments (5Hz at a time).
Step 4: Choose Timing
CRU allows you to select timing standards. For most users:
- Set Timing to Automatic (LCD standard).
- If that doesn’t work, try CVT-RB (Reduced Blanking) for better bandwidth efficiency.
Reduced blanking often helps higher refresh rates work within cable limitations.
Click OK, then OK again to exit CRU.
Step 5: Restart the Graphics Driver
Navigate to the CRU folder and run:
restart.exe(for 64-bit Windows)
Your screen will briefly flicker as the graphics driver restarts.
If something goes wrong and the display doesn’t return, reboot into Safe Mode and run reset-all.exe.
Step 6: Enable the New Refresh Rate
Now that Windows recognizes the new refresh rate:
- Right-click the desktop.
- Open Display Settings.
- Click Advanced display settings.
- Select your monitor.
- Choose the new refresh rate from the dropdown.
Apply it.
If the screen goes black and does not recover within 15 seconds, Windows should automatically revert.
Testing Stability
Just because the refresh rate applies doesn’t mean it’s stable.
Here is how to test:
1. Check for Frame Skipping
Use an online frame-skipping test (displayed via your browser) and photograph the screen with a fast shutter speed. Missing boxes indicate frame skipping.
2. Play Fast-Paced Games
Launch a game with high motion and:
- Watch for flickering.
- Check for artifacts.
- Look for signal drops.
3. Monitor GPU Usage
Ensure your GPU can actually output frames at the higher refresh rate. There’s no benefit to 170Hz if your game runs at 90 FPS.
How Much Performance Can You Gain?
Realistically:
- 60Hz → 75Hz: Noticeably smoother desktop and gaming experience.
- 144Hz → 155Hz: Subtle but helpful in competitive play.
- 165Hz → 180Hz: Often requires panel luck and strong bandwidth.
The biggest perceptual leap is from 60Hz to anything higher. Smaller jumps matter more to competitive esports players than casual gamers.
Risks and Myths
Myth: You will Damage Your Monitor
Modern monitors have built-in safeguards. If the panel can’t handle a refresh rate, it simply won’t display it properly. Permanent damage is extremely rare.
Myth: It Voids Your Warranty
In most cases, there’s no persistent firmware modification. CRU changes are software-level and reversible.
Real Risk: Instability
The main risk is signal instability, not hardware failure. If you experience:
- Random black screens
- Color distortions
- Persistent flicker
Dial the refresh rate back.
When Overclocking Won’t Help
Monitor overclocking won’t magically fix:
- Low FPS due to weak GPU
- High input lag from TV panels
- Motion blur caused by slow pixel response times
Also, some monitors are locked down and simply refuse higher refresh rates.
Pro Tips for Maximum Smoothness
If you’re already tweaking your monitor, consider these additional optimizations:
Enable Variable Refresh Rate (VRR)
If supported, enable:
- NVIDIA G-SYNC
- AMD FreeSync
These reduce tearing and stutter.
Lower In-Game Settings
Prioritize FPS over ultra graphics if you’re aiming for competitive performance.
Use DisplayPort
For higher refresh rates and resolutions, DisplayPort typically provides better headroom.
Disable V-Sync (When Appropriate)
For competitive gaming, disabling V-Sync can reduce input latency, though VRR is usually the better option.
Reverting to Default Settings
If you want to undo your changes:
- Run
CRU.exe. - Remove the custom resolution you added.
- Click OK.
- Run
restart.exe.
Or simply run:
reset-all.exe
This restores all monitors to default EDID settings.
Is Monitor Overclocking Worth It?
If you’re gaming on a 60Hz monitor, even a modest jump to 70Hz or 75Hz can make your entire system feel more responsive. For competitive players chasing marginal gains at 144Hz or above, overclocking can provide a slight edge, assuming your panel cooperates.
It’s not a substitute for upgrading to a true high-refresh gaming monitor, but it’s a free tweak that can extend the usefulness of your current hardware.
In the world of PC gaming, optimization is about stacking small advantages. CRU gives you one more tool in your arsenal.
Summary
Using CRU to overclock your monitor’s refresh rate is one of the safest and most cost-effective tweaks available to PC gamers. With careful, incremental adjustments and proper testing, you can unlock smoother motion and better responsiveness without spending a cent.
Just remember:
- Increase refresh rates gradually.
- Test thoroughly.
- Revert if unstable.
- Don’t expect miracles.
For gamers who love squeezing every ounce of performance from their hardware, CRU is well worth exploring. And in competitive play, smoother visuals aren’t just eye candy, they’re a tactical advantage.